 In part 4 of this series we configured two ESXi hosts to host our lab. In this part we will setup a Windows Server 2012 R2 Core virtual machine and configure it as a domain controller in a separate root domain. We will then configure a forest trust to our production domain so that our users can authenticate.
Other posts in this series
- Intro
- Physical infrastructure – storage
- Physical infrastructure – networking
- Physical infrastructure – compute
- Authentication services
- Deploy and configure the vCenter Server Appliance
- Configure vCenter Server Appliance SSL certificates
- Deploy and configure the vRA Appliance
- Deploy and configure the IaaS platform
- Configure tenants
- Configure endpoint & fabric/business groups
- Configure blueprints (coming soon)
- Configure entitlements (coming soon)
- Configure policies (coming soon)
- Integration with vCloud Air (coming soon)
- Tidy up (coming soon)
Design
When designing the lab security was highlighted as a concern. Due to the nature of a lab, it was important to ensure that the environment was segregated from the main production network at both a physical and logical level. In the event someone mis-configures something and creates a weakness in security, then this can be confined to the lab environment.
When considering the security boundary for user authentication, two options were highlighted. The first was to utilise the existing production domain for all services, but implement a read-only domain controller to enhance security.
The second option was to create a standalone domain dedicated to hosting lab resources, and use a forest trust between this and the production domain. This would enable users from the production domain to authenticate in the lab.
We decided to implement the second option to avoid “polluting” the production domain with necessary computer and user objects.
The following design has been chosen for our authentications services:

In this scenario, Forest A represents our production forest where all our user accounts are located. This is mdb-lab.com, and the child domain is uk.mdb-lab.com. The standalone domain is to be implemented in the lab environment and shall be named lab.mdb-lab.com.
Ideally the trust between the forest root domain and the lab domain would be one-way. However after consulting VMware KB article 2064250 it was discovered that this presents a number of issues, the biggest being unable to search for accounts in the forest. This means we would be unable to grant permissions on the vCenter Server to users and groups in the production domain.
Configure Windows Server 2012 R2
Create a PowerCLI script called build_server.ps1:
# Variables

$esxi1 = "192.168.146.201"
$username = "root"
$password = "VMware1!"
$vmName = "dc-lon.lab.mdb-lab.com"
$numCPU = "1"
$numMem = "2048"
$numDisk = "16384"
$ds = "TEMP-datastore"
$net = "VM Network"
$guestOS = "windows8Server64Guest"
$ver = "v10"
$iso = "en_windows_server_2012_r2_with_update_x64_dvd_4065220.iso"
$cdpath = "[$ds] $iso"

Connect-VIServer $esxi1 -username $username -password $password

# Create VM
New-VM -name $vmName -VMhost $esxi -numcpu $numCPU -memoryMB $numMem -DiskMB $numDisk -datastore $ds -Network $net -guestID $guestOS -cd -Version $ver

# Set network adapter to VMXNET3
Get-NetworkAdapter -VM $vmName | Set-NetworkAdapter -Type vmxnet3 -Confirm:$false

# Add CD drive with ISO
Get-CDDrive -VM $vmName | Set-CDDrive -IsoPath $cdpath -StartConnected $true -Confirm:$false

Disconnect-VIServer $esxi1 -confirm:$false
This creates a VM with the following virtual hardware:
- 1 vCPU
- 2GB RAM
- 16GB hard disk
- VMXNET3 network adapter
Use psftp (PUTTY’s Secure FTP client) to connect to ESXi1:
psftp root@192.168.146.201
Navigate to the temporary datastore:
cd /vmfs/volumes/TEMP-datastore
Upload the Windows Server 2012 R2 ISO:
put en_windows_server_2012_r2_with_update_x64_dvd_4065220.iso
Open PowerCLI and set the execution policy:
Set-ExecutionPolicy Unrestricted

Press Y and then enter.
Execute the script
.\build_server.ps1
Once the VM has been created, power it on and open the console. Install Windows Server 2012 R2 onto the VM. Install a product key, and when asked to select an Operating System, choose Server Core:

Accept the licence terms and select the drive you wish to install Windows on.
After the first boot, assign a password:

Once at the command line, install VMware Tools. On the VM’s VM menu, click Guest / Install/Upgrade VMware Tools. In the VM, change to the CD drive and use:
setup64.exe /s /v "/qn REBOOT=R"
After the reboot, set the FQDN:
reg add HKLM\SYSTEM\CurrentControlSet\Services\Tcpip\Parameters /v Domain /t REG_SZ /d lab.mdb-lab.com
reg add HKLM\SYSTEM\CurrentControlSet\Services\Tcpip\Parameters /v SearchList /t REG_SZ /d lab.mdb-lab.com
Rename the computer:
netdom renamecomputer %ComputerName% /NewName:dc-lon /REB
List the network interfaces:
netsh interface ipv4 show interfaces
Which should give something like:

Select the LAN interface number (Idx – in this case 12) and use this to set the IP address:
netsh interface ipv4 set address name="12" source=static address=192.168.146.204 mask=255.255.255.0 gateway=192.168.146.253
Set the DNS server address:
netsh interface ipv4 add dnsserver name="12" 192.168.146.204 index=1
Ignore the error that appears, it is because we haven’t installed the DNS Server role yet.
Set the power management to High Performance. First, list the power schemes:
powercfg /L
Set the power scheme High Performance to active:
powercfg -setacive 8c5e7fda-e8bf-4a96-9a85-a6e23a8c635c
List the power schemes again, this time verifying High Performance has a mark against it to show it is active:
powercfg /L
Set the time to synchronise with an NTP server:
w32tm /config /syncfromflags:manual /manualpeerlist:0.uk.pool.ntp.org,1.uk.pool.ntp.org
Make the time source reliable for future domain guests:
w32tm /config /reliable:yes
Optional – if the VM has internet access, activate Windows:
slmgr /ato
Finally, turn off the Windows firewall:
netsh advfirewall set allprofiles state off
Install Active Directory
After the VM has rebooted, promote it to a domain controller:
dcpromo.exe /unattend /NewDomain:forest /ReplicaOrNewDomain:Domain /NewDomainDNSName:lab.mdb-lab.com /DomainLevel:4 /ForestLevel:4 /SafeModeAdminPassword:"VMware1!"
Now we need to rename the AD site from “Default-First-Site-Name”. First, open PowerShell
powershell
Load the Active Directory module:
Import-Module ActiveDirectory
List the current AD sites:
Get-ADObject -SearchBase (Get-ADRootDSE).ConfigurationNamingContext -filter "objectclass -eq 'site'" | ft Name
Rename the site:
Get-ADObject -SearchBase (Get-ADRootDSE).ConfigurationNamingContext -filter "objectclass -eq 'site'" | Rename-ADObject -NewName London-Lab
Create the forest trust
Now we need to create a one-way forest trust to the production domain, so users can authenticate in the lab. First, we need to create a DNS stub zone to point to the production zone:
dnscmd . /ZoneAdd mdb-lab.com /DsStub 172.17.50.1 172.17.50.2
In the above example, mdb-lab.com is the root of the production forest, and 172.17.50.1 and 172.17.50.2 are the two root DNS servers.
We also need to create a stub zone for lab.mdb-lab.com on the production domain DNS servers. Switch to one of those DNS servers and use:
dnscmd . /ZoneAdd lab.mdb-lab.com /DsStub 192.168.146.204
Setup forwarders so hosts on the lab network can resolve outside addresses. Back on the new lab domain controller use:
dnscmd . /ResetForwarders 172.17.50.1 172.17.50.2 /Slave
Create a DNS entry for both ESXi hosts:
dnscmd . /RecordAdd lab.mdb-lab.com esxi1 A 192.168.146.201
dnscmd . /RecordAdd lab.mdb-lab.com esxi2 A 192.168.146.202
Unfortunately neither netdom or PowerShell are capable of creating forest trusts, despite the former claiming it can. So we shall have to do use the GUI.
Open Active Directory Domains and Trusts on a management workstation/laptop in the lab:

Right-click lab.mdb-lab.com and click Properties:

Click the Trusts tab:
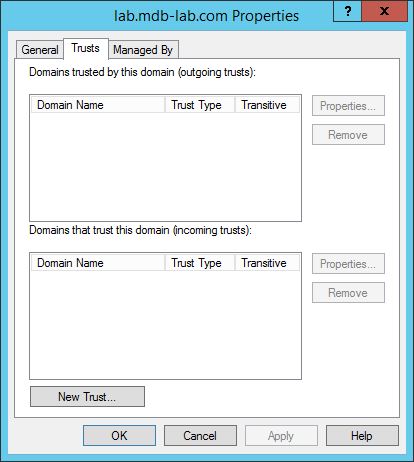
Click New Trust…
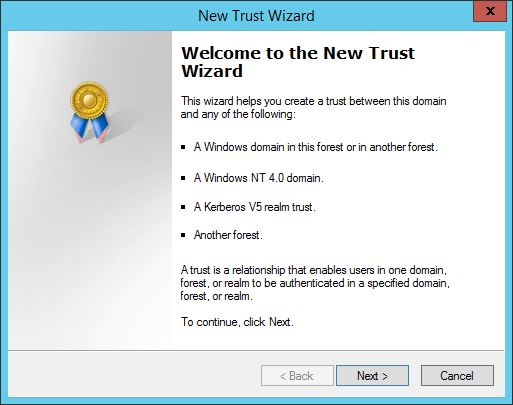
Click Next >
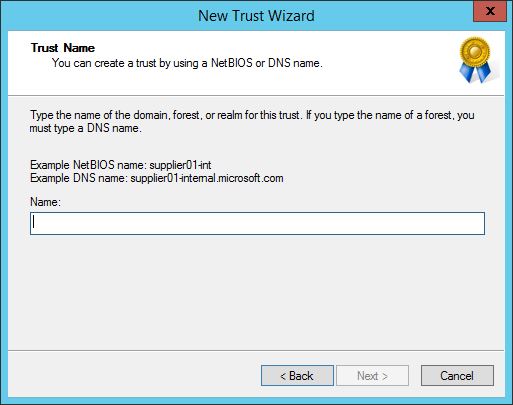
Type the name of the production domain in the box:
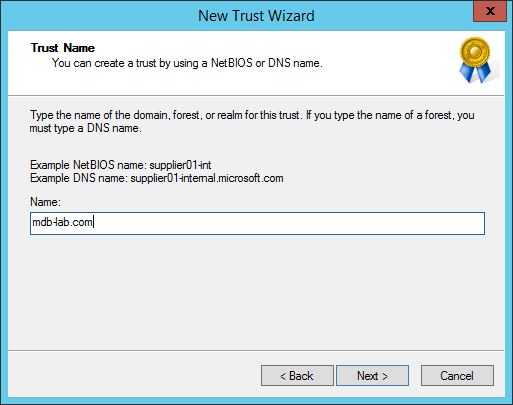
Click Next >

Click the radio button Forest trust and then click Next >
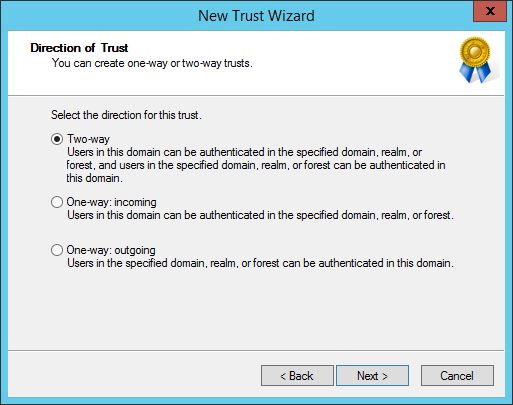
Click Next >
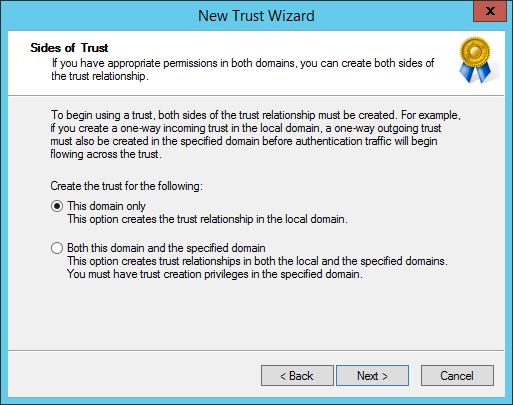
Click Both this domain and the specified domain and then click Next >
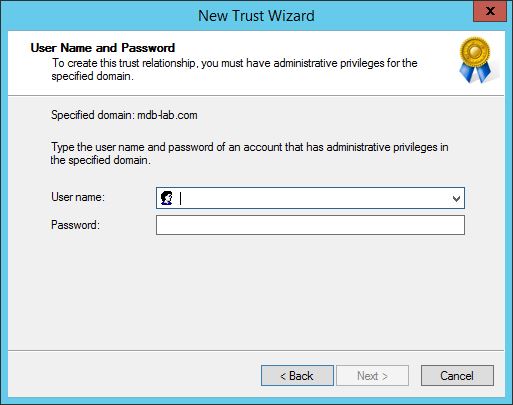
Enter the credentials of the production domain:
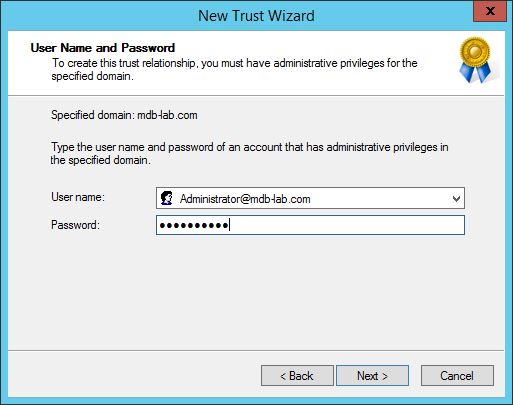
Click Next >

Click Next >

Click Selective authentication and then click Next >

Click Next >

Click Next >
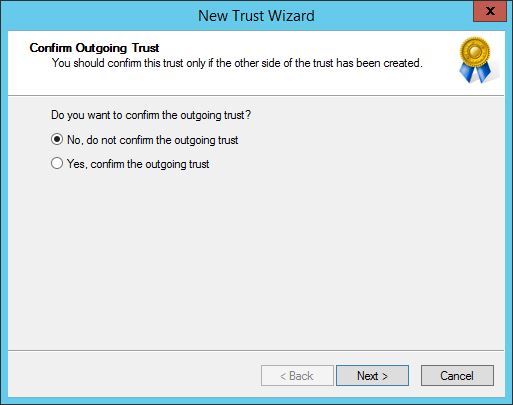
Click Yes, confirm the outgoing trust and then click Next >

Click Yes, confirm the incoming trust and then click Next >

Click Finish.
The forest trust is now created.
Coming up
In this part we built, installed and configured a Windows Server 2012 R2 Domain Controller, installed DNS and created a two-way forest trust to the production domain.
In part 6, we install and configure the vCenter Server Appliance for the lab.
