 In part 7 we configured SSL certificates for our newly deployed vCenter Server Appliance. In this part, we deploy the vRealize Automation Appliance into the lab.
After deployment we will perform a number of tasks to enable the appliance to work in the lab environment.
Other posts in this series
- Intro
- Physical infrastructure – storage
- Physical infrastructure – networking
- Physical infrastructure – compute
- Authentication services
- Deploy and configure the vCenter Server Appliance
- Configure vCenter Server Appliance SSL certificates
- Deploy and configure the vRA Appliance
- Deploy and configure the IaaS platform
- Configure tenants
- Configure endpoint & fabric/business groups
- Configure blueprints (coming soon)
- Configure entitlements (coming soon)
- Configure policies (coming soon)
- Integration with vCloud Air (coming soon)
- Tidy up (coming soon)
Deployment
Download the vRealize Automation Appliance from VMware (version 6.2.2 at the time of writing). Select the OVA file and save it locally.
Create the following script and save it as deploy_vra.ps1:
# Author:	@virtualhobbit
# Website:	http://virtualhobbit.com
# Ref:		Building an advanced lab using VMware vRealize Automation – Part 8: Deploy and configure the vRA Appliance

# Variables

$vc = "vcsa.lab.mdb-lab.com"
$credential = Get-Credential
$esxi = "esxi1.lab.mdb-lab.com"
$vss = "vSwitch0"
$pg = "Temp for vApp deployment"
$ova = "C:\VMware-vCAC-Appliance-6.2.2.0-2754336_OVF10.ova"
$vmdkFormat = "Thick"
$dvPG = "London Management VMs"
$name = "vra.lab.mdb-lab.com"

# Connect to vCenter
Connect-VIServer -Server $vc -Credential $credential

# Set variables
$cluster = Get-Cluster -Name "London_Lab"
$ds = Get-DatastoreCluster -Name "iSCSI"

# Create vSwitch for the vApp deployment
New-VirtualSwitch -VMHost $esxi -Name $vss
New-VirtualPortGroup -VirtualSwitch $vss -Name $pg

# Deploy the OVA
$vApp = Import-VApp -Source $ova -Location $cluster -VMHost $esxi -Datastore $ds -DiskStorageFormat $vmdkFormat -Confirm:$false

# Change appliance port group
Get-VM $vApp | Get-NetworkAdapter | where { $_.NetworkName -eq $pg } | Set-NetworkAdapter -PortGroup $dvPG -Confirm:$false

# Remove temporary vSwitch and port group
$vswitch = Get-VirtualSwitch -VMHost $esxi -Name $vss
Remove-VirtualSwitch -VirtualSwitch $vswitch -Confirm:$false

# Rename appliance
Get-VM $vApp | Set-VM -Name $name -Confirm:$false

# Disconnect from the vCenter
Disconnect-VIServer $vc -Confirm:$false
Open PowerCLI, set the execution policy and run the script:
Set-ExecutionPolicy Unrestricted
.\deploy_vra.ps1
For some strange reason the Import-VApp cmdlet fails if you try to deploy an OVA to a host that only uses dvSwitches. To work around this, the script creates a standard vSwitch, deploys the OVA and then deletes the vSwitch.
Using the vSphere Client, right-click the newly created VM and click Edit Settings…

Click the Options tab followed by Properties:

Type in a root password, and then supply the following network details:
- Hostname
- Default gateway
- DNS
- IP address
- Subnet mask
On the domain controller, create a DNS entry for the appliance:
dnscmd . /RecordAdd lab.mdb-lab.com vra A 192.168.146.206
Configuration
On your workstation/laptop, create the following configuration file and save as C:\Certs\vra.cfg:
[ req ]
default_md = sha512
default_bits = 2048
default_keyfile = rui.key
distinguished_name = req_distinguished_name
encrypt_key = no
prompt = no
string_mask = nombstr
req_extensions = v3_req
input_password = VMware1!
output_password = VMware1!

[ v3_req ]
basicConstraints = CA:false
keyUsage = digitalSignature, keyEncipherment, dataEncipherment
extendedKeyUsage = serverAuth, clientAuth
subjectAltName = DNS:vra, IP: 192.168.146.206, DNS: vra.lab.mdb-lab.com

[ req_distinguished_name ]
countryName = UK
stateOrProvinceName = London
localityName = London
0.organizationName = virtualhobbit
organizationalUnitName = VMware vRealize
commonName = vra.lab.mdb-lab.com
Create a certificate signing request:
C:\OpenSSL\bin\openssl req -new -nodes -out C:\Certs\vra.csr -keyout C:\Certs\vra-orig.key -config C:\Certs\vra.cfg
Convert the private key to the appropriate RSA format required by the appliance:
C:\OpenSSL\bin\openssl rsa -in C:\Certs\vra-orig.key -out C:\Certs\vra.key
Submit the CSR to the Certificate Authority to generate the certificate:
certreq -submit -config "issuingca.mdb-lab.com\mdb-lab.com Issuing CA" -attrib "CertificateTemplate:VMwareSSL" C:\Certs\vra.csr C:\Certs\vra.crt
Locate the certificate chain we used in part 7, and ensure it exists as C:\Certs\cachain.pem.
Create PFX file:
C:\OpenSSL\bin\openssl pkcs12 -export -in C:\Certs\vra.crt -inkey C:\Certs\vra.key -certfile C:\Certs\cachain.pem -name “rui” -passout pass:VMware1! -out C:\Certs\vra.pfx
Convert to PEM format:
C:\OpenSSL\bin\openssl pkcs12 -in C:\Certs\vra.pfx -clcerts -nokeys -out C:\Certs\vra.pem
Create a PEM file for the appliance administration web service:
type C:\OpenSSL\Certs\vra.key C:\OpenSSL\Certs\vra.crt > C:\OpenSSL\Certs\server.pem
Power the vRealize Automation Appliance on. Use SFTP or SCP to upload server.pem, and then use PuTTY to SSH as root to the appliance.
Once connected, back up the existing certificate:
cp /opt/vmware/etc/lighttpd/server.pem /opt/vmware/etc/lighttpd/server.pem.old
Replace the certificate with our newly minted one:
mv /root/server.pem /opt/vmware/etc/lighttpd
Set the permissions:
chmod 400 /opt/vmware/etc/lighttpd/server.pem
Restart the service
service vami-lighttp restart
Open a web browser and navigate to https://vra.lab.mdb-lab.com:5480 (substitute accordingly):
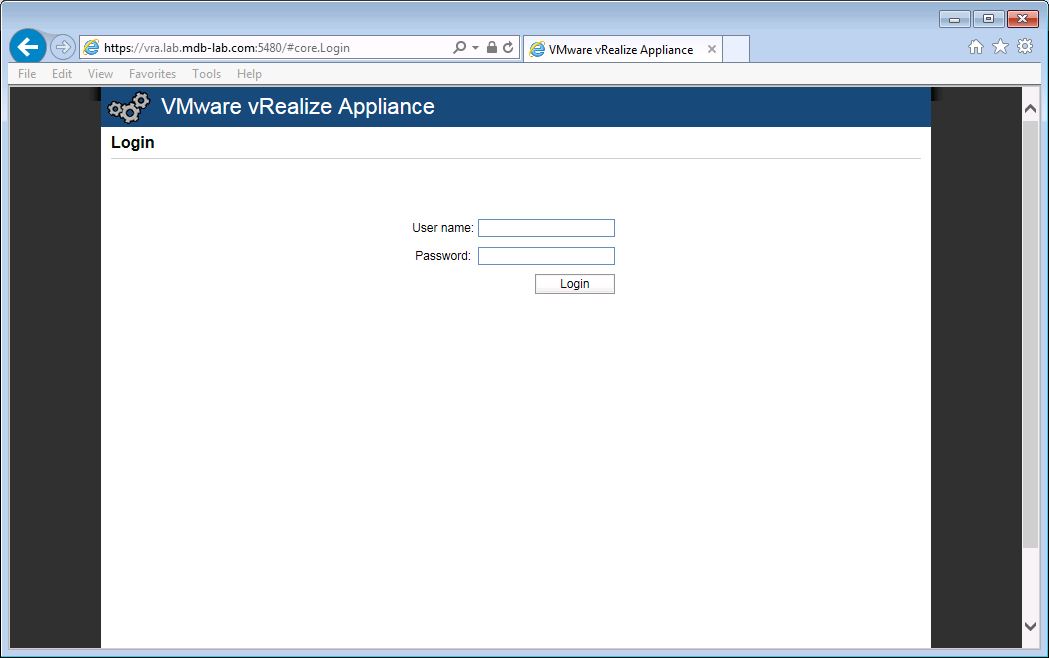
Logon using root and the password you set earlier. Once authenticated click on the vRA Settings tab:

Enter the hostname into the appropriate box and then under SSL Configuration click the Import radio button:

Open vra.key and vra.pem in a text editor. Paste the contents of vra.key into the RSA Private Key box, and the contents of vra.pem into the Certificate Chain box. Finally, enter “VMware1!” (minus quotes) in the Passphrase box.
Click on the SSO tab:
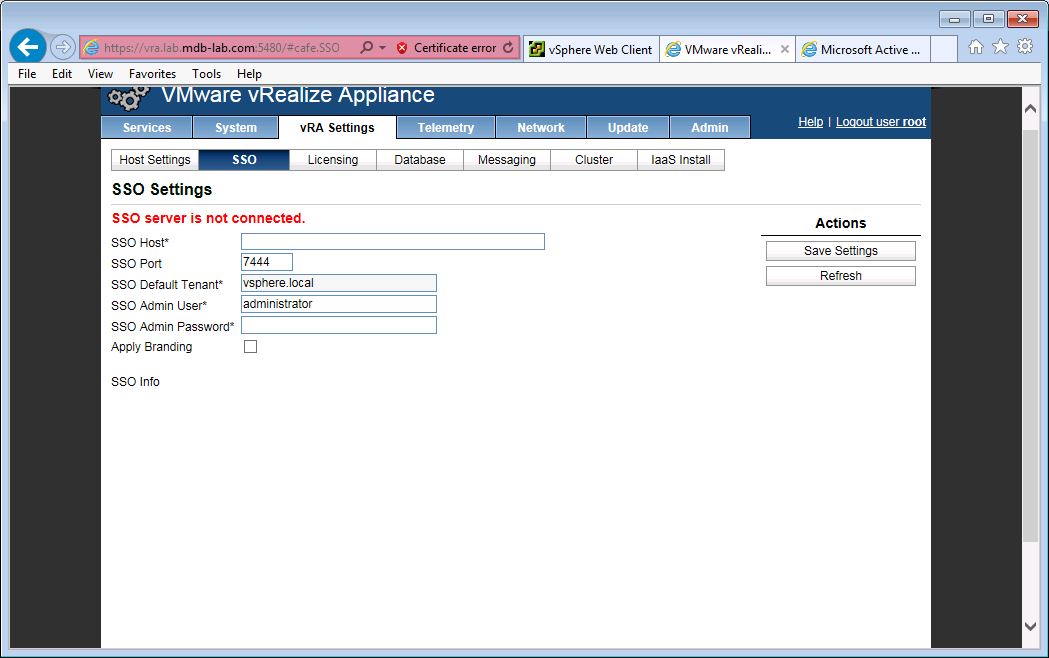
Enter the vCenter Server Appliance address in the SSO host box, and the password for Administrator@vsphere.local in the SSO Admin Password box:

Click Save Settings.

Click OK.

Click on the Licensing tab:

Enter your licence key in the New License Key box and click Submit Key:

Logout from the appliance administration page and browse to https://vra.lab.mdb-lab.com/vcac (substitute accordingly):
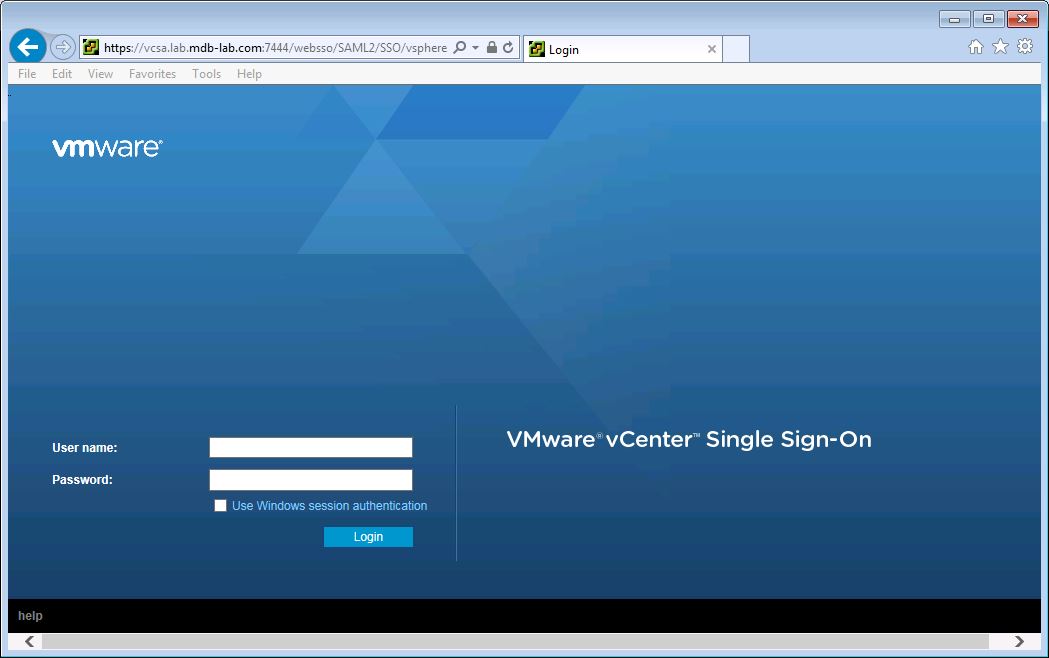
Login using a production domain account. If everything has worked as expected, then you should see a My Inbox (and not much else).
Coming Up
In this part we installed and configured the vRealize Automation Appliance. We secured both the administration and service portals with custom SSL certificates, configured SSO and entered a licence key.
In part 9 we deploy and configure the IaaS platform.
