 In part 9 we installed and configured the IaaS platform for our lab.
In this part we discuss tenants. We configure the default tenant, and explain why you might need more than one.
Other posts in this series
- Intro
- Physical infrastructure – storage
- Physical infrastructure – networking
- Physical infrastructure – compute
- Authentication services
- Deploy and configure the vCenter Server Appliance
- Configure vCenter Server Appliance SSL certificates
- Deploy and configure the vRA Appliance
- Deploy and configure the IaaS platform
- Configure tenants
- Configure endpoint & fabric/business groups
- Configure blueprints (coming soon)
- Configure entitlements (coming soon)
- Configure policies (coming soon)
- Integration with vCloud Air (coming soon)
- Tidy up (coming soon)
Default Tenant
Every vRealize Automation installation comes with a default tenant. A tenant is an organization unit inside vRealize Automation, and can either represent a business function in the enterprise, or an organization in a service provider environment.
Each tenant has it’s own configuration, although does inherit system-wide configuration settings too. vRA supports both single and multiple tenant deployments.
During the installation of vRA a default tenant was created during the Single Sign-On (SSO) configuration stage. During this stage a system administrator is configured (Administrator@vsphere.local), and is used to create and configure other tentants if necessary, as well as system-wide settings.
The default tenant is the only tenant that supports the use of native Active Directory authentication. All other tenants must use Active Directory over LDAP or OpenLDAP authentication.
In our deployment, we will be using the default tenant. Business functions making use of vRA will be classified into Business Groups, which we will cover at a later date.
Configuration
On the lab domain controller, create a service account:
dsadd user cn=sa_vra,cn=users,dc=lab,dc=mdb-lab,dc=com -disabled no -pwd * -acctexpires never
Create two groups for the Tenant and IaaS Administrators and add the service account to both (substitute accordingly):
for %i in ("Tenant Admins","IaaS Admins") do dsadd group cn=%i,cn=users,dc=lab,dc=mdb-lab,dc=com -scope l yes -members sa_vra@lab.mdb-lab.com
On your mail server, create a mailbox for the above service account. In the lab, we use Microsoft Exchange hosted in a separate domain with linked mailboxes (again, substitute accordingly):
# variables

$db = "DB1"
$name = "vRealize Automation"
$linkedDc = "dc-lon.lab.mdb-lab.com"
$linkedAccount = "LAB\sa_vra"
$ou = "Linked Mailboxes"
$upn = "sa_vra@mdb-lab.com"
$credential = (Get-Credential LAB\Administrator)

New-Mailbox -Database $db -Name $name -LinkedDomainController $linkedDc -LinkedMasterAccount $linkedAccount -OrganizationalUnit $ou -UserPrincipalName $upn -LinkedCredential $credential
Using a web browser, navigate to the vRA configuration page at https://vra.lab.mdb-lab.com/shell-ui-app (substitute accordingly) and login using Administrator@vsphere.local:
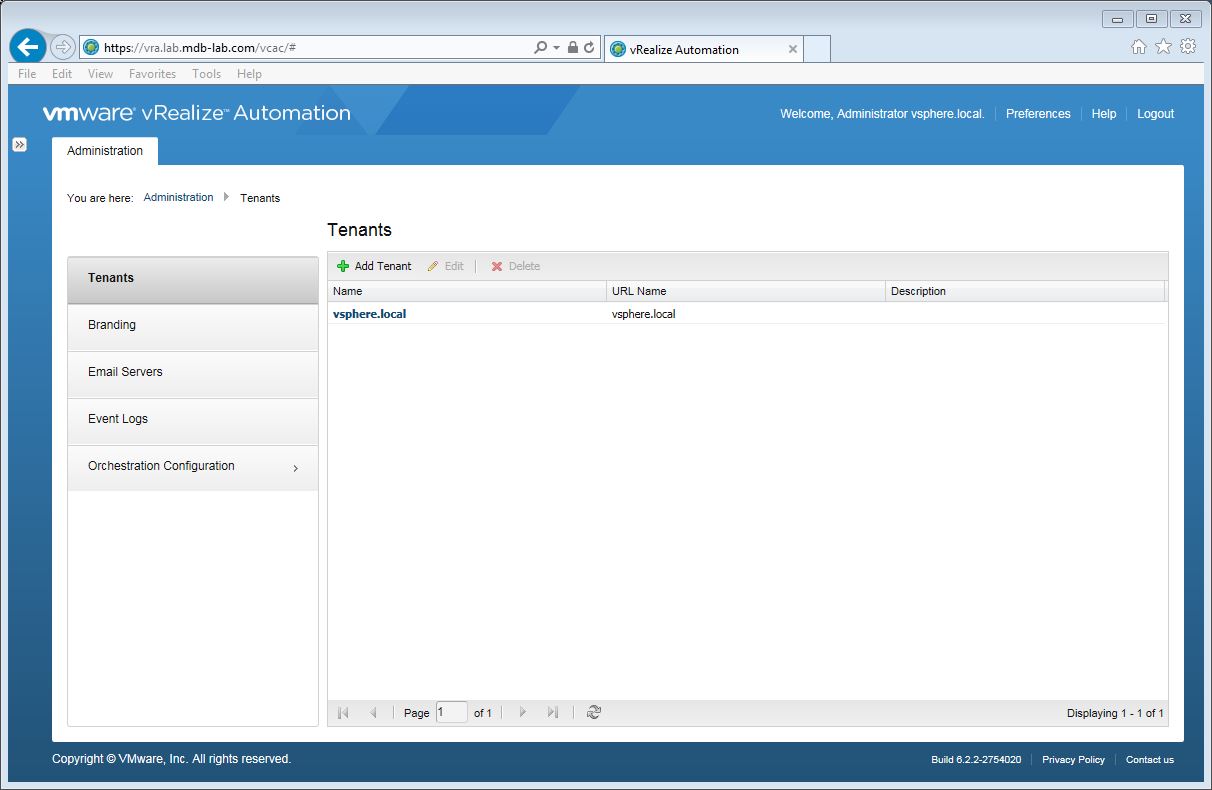
Click vsphere.local
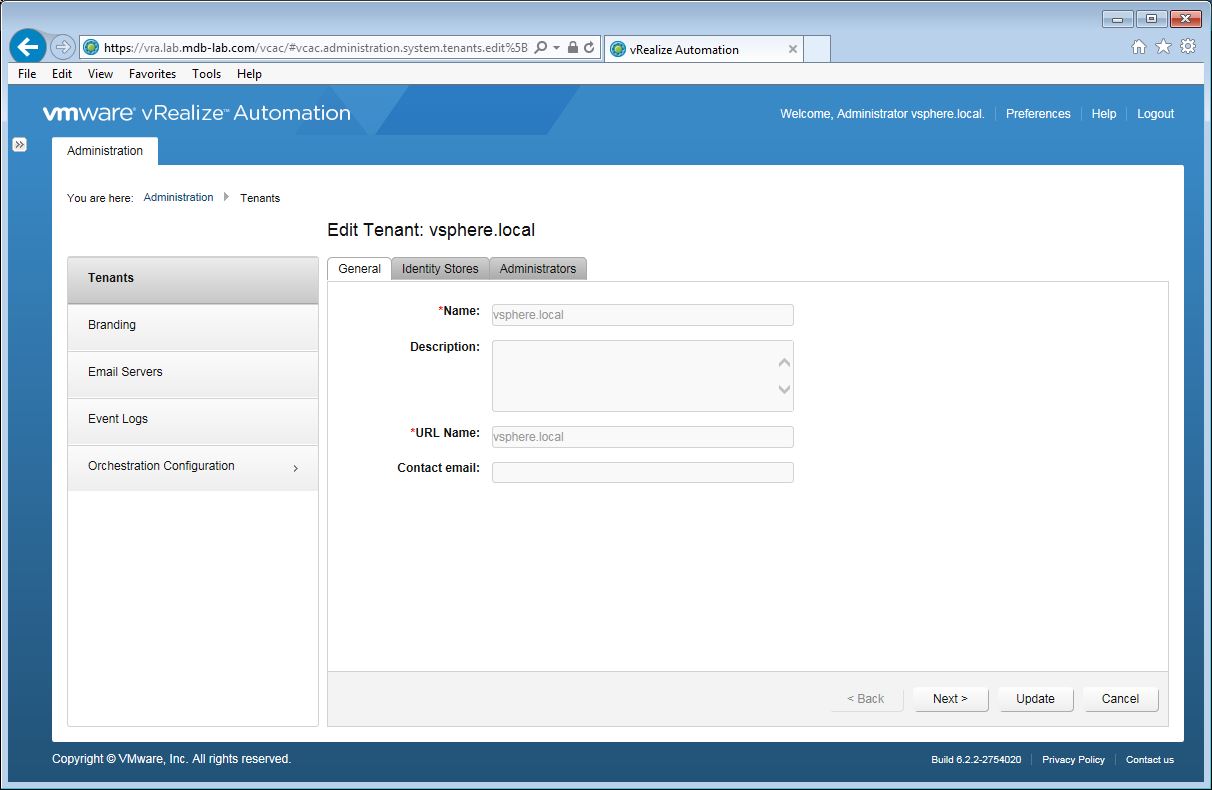
Click the Administrators tab:

In the Tenant administrators search box, type Tenant Admins and press return:

Click the group that appears to add it. In the Infrastructure administrators search box, type IaaS Admins and press return.
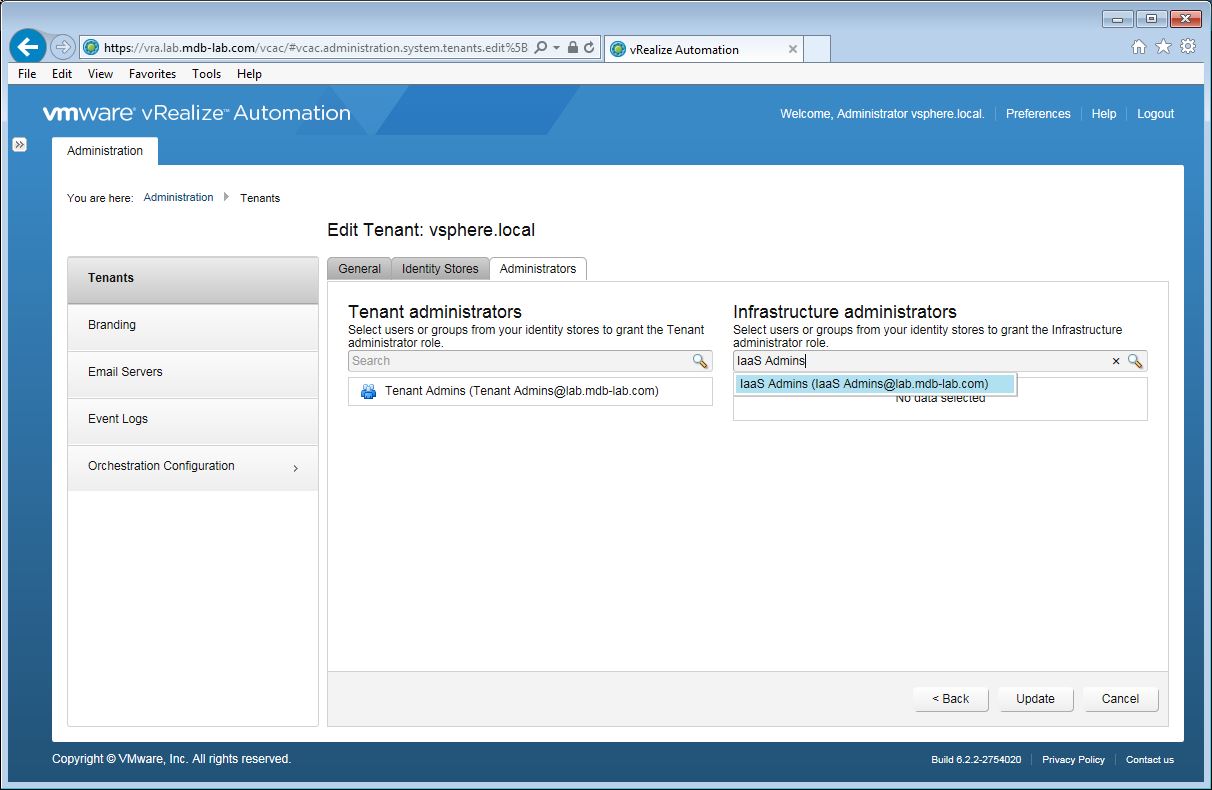
Select the group and click to add it. Click Update. Click the Email Servers tab:
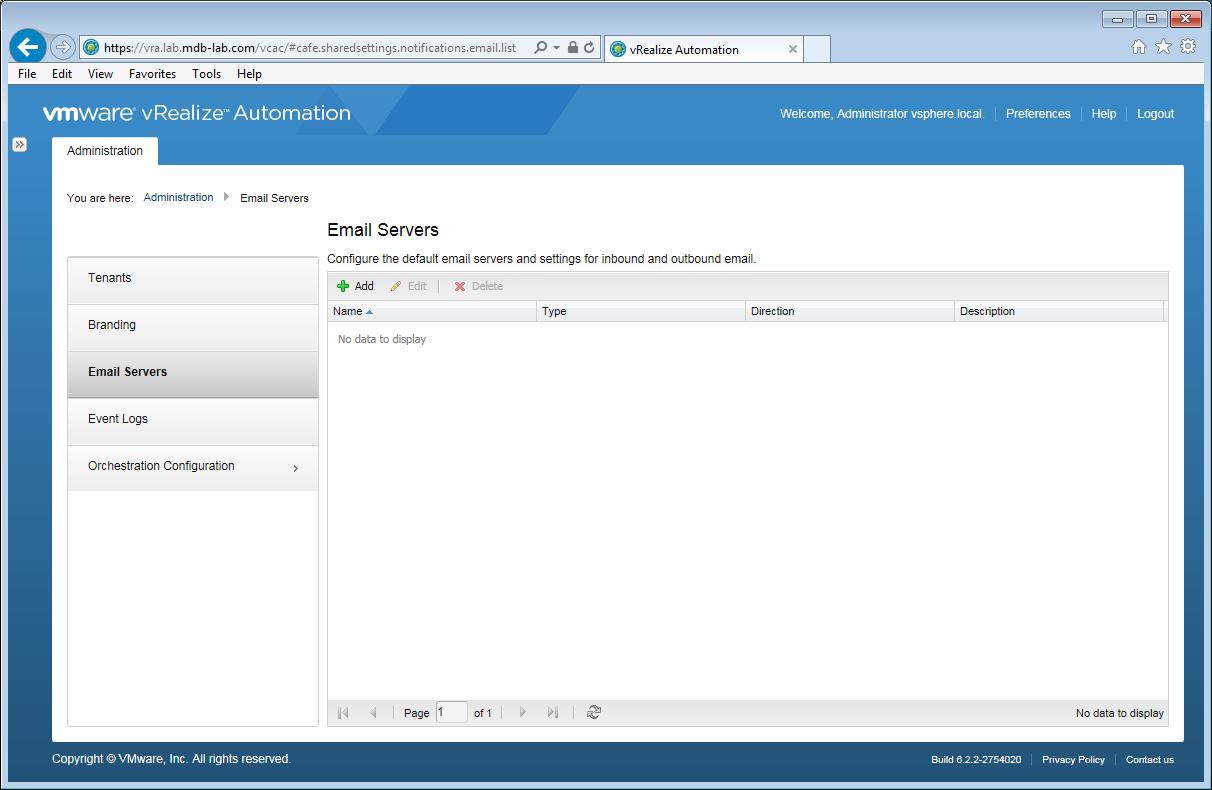
Click Add, and then click Email – Inbound:
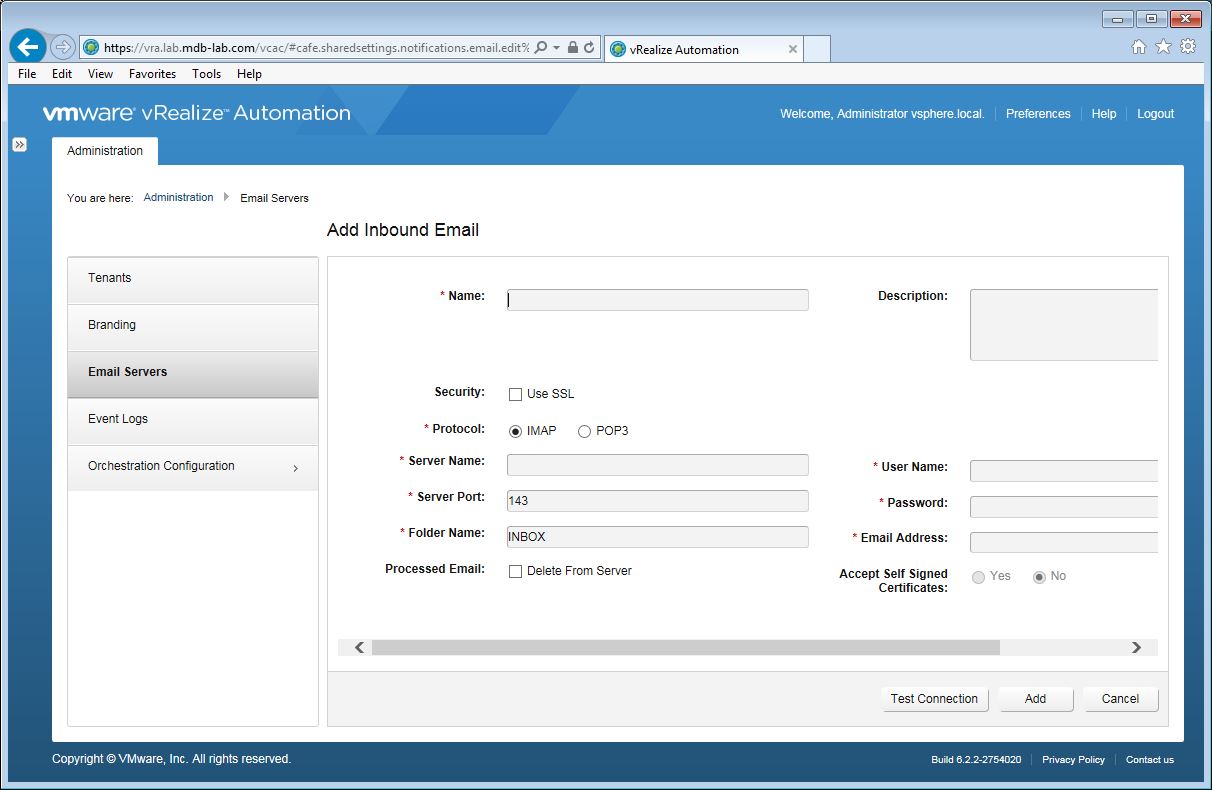
Add the details of your mail server (substitute accordingly):
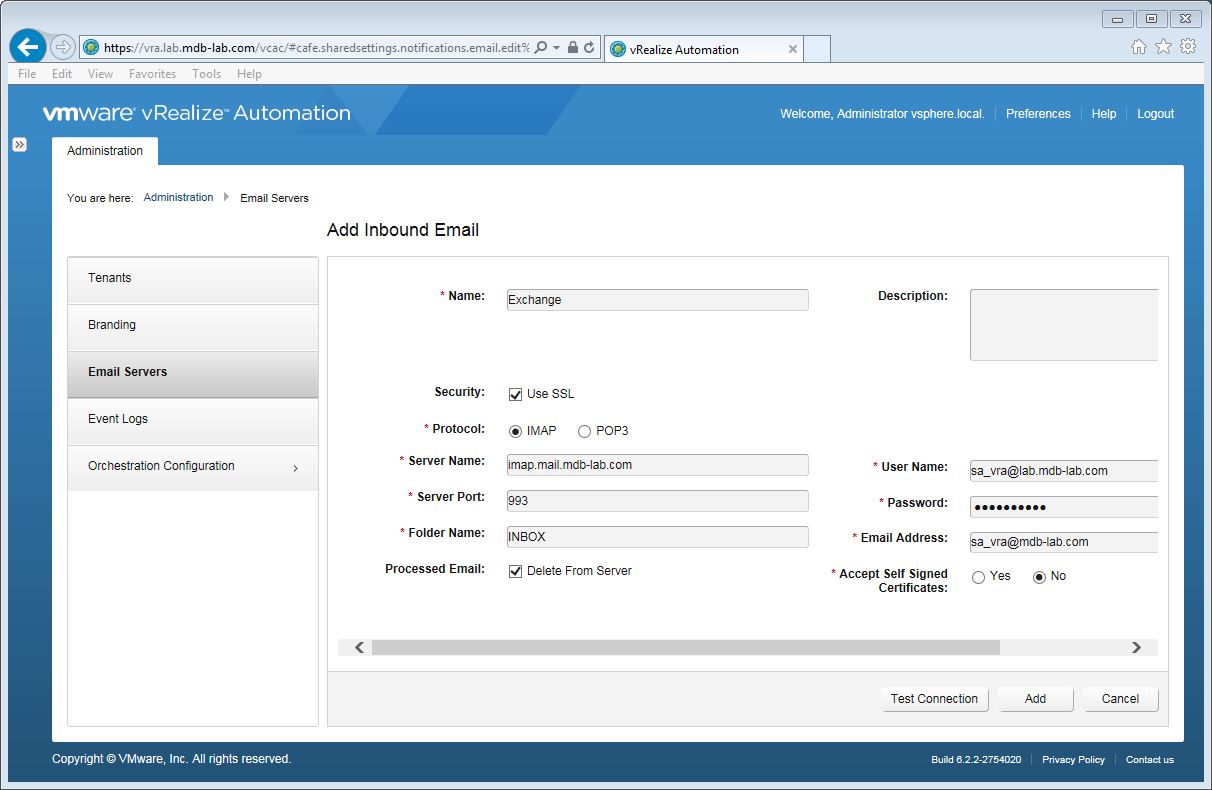
Click Test Connection to verify your configuration works, and then click Add.
Click Add, and then click Email – Outbound. Add the details of your mail server (substitute accordingly):
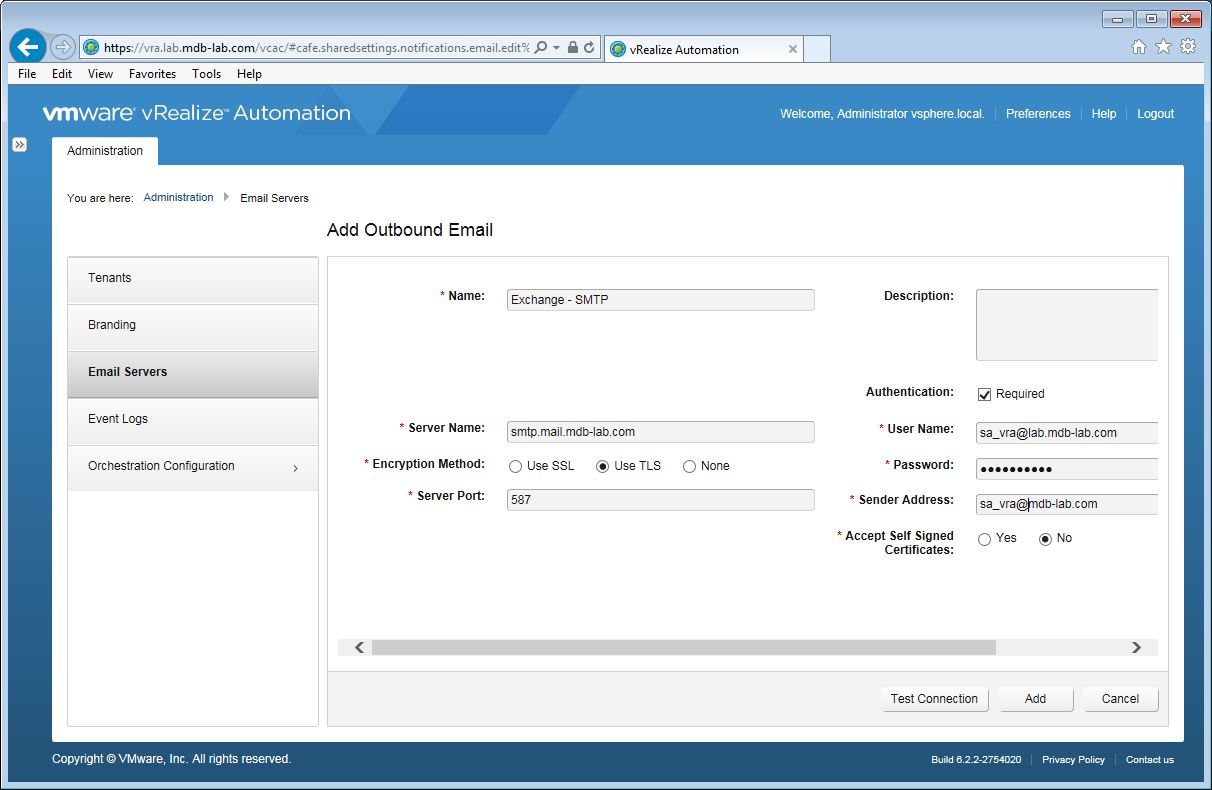
Click Add.
Click the Branding tab:

Uncheck Use default, and modify to suit your needs.
The default tenant is now configured.
Coming up
In this part we configured the default tenant for our vRealize Automation deployment.
In part 11 we configure an endpoint for our lab, along with fabric and business groups.
