 In part 2 we installed the VMware Horizon View Connection Servers and View Composer in preparation for deploying our virtual desktops.
In this part we configure our two templates which will be used by all members of the business.
Other posts in this series:
- Design
- Installing the Connection Servers and Composer
- Creating the templates
- Configuring the RDS hosts
- Pool configuration
- Application farm configuration
- Load-balancing
- Remote access
Before any virtual desktops can be deployed, an operating system template must be configured. A number of options are available, but the one of the design requirements (see part 1, Requirements, R1) is that the latest Microsoft OS must be used. At the time of writing that is Windows 10.
The design also states that two types of desktop pool will be created – full and linked clone:

The process of creating a template for the two pools is almost identical, but the last step in the process differs depending on the type of pool.
Getting started
Create two virtual machines, Windows 10 Gold 32-bit and Windows 10 Gold 64-bit. Give them the following virtual hardware:
Windows 10 Gold 32-bit:
- 1 vCPU
- 2GB memory
- 50GB hard disk
- VMXNET3 network card
- Virtual hardware 10/11
Windows 10 Gold 64-bit:
- 2 vCPU
- 8GB memory
- 50GB hard disk
- VMXNET3 network card
- Virtual hardware 10/11
You do not need to set the amount of video RAM as this is overridden by Horizon View.
Edit each VM and remove the floppy drive. Add the appropriate Windows 10 ISO to each virtual CD drive:

Click the Options tab, followed by Boot Options. Click to check the box Force BIOS Setup:

Click OK and then power on each VM. Once in the BIOS, set the Legacy Diskette A to disabled:

Move across to the Advanced tab and expand I/O Device Configuration:

Set each device to disabled. Press F10 to save and exit.
Install Windows 10 on each virtual machine and also VMware Tools. You will need these for the VMXNET3 drivers, and to configure networking for the virtual machine:

Click Next >

Select Complete and click Next >

Click Install:

Click Finish:
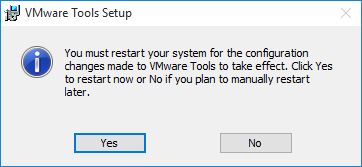
Click Yes. Each virtual machine will now reboot.
Patch each VM with the latest updates and add to the domain and then reboot again.
VMware OSOT
Download the VMware OS Optimisation Tool fling from https://labs.vmware.com/flings/vmware-os-optimization-tool. Extract the zip file and copy to each virtual machine.
Run OSOT on each VM:

Click to ensure the template Windows10_beta is selected and then click Analyse:

The lower right-hand pane lists a number of potential optimisations which can be made.
Click Optimize. The tool will begin making changes:

The Optimize history tab will appear:

Exit the OSOT, delete the executable and then reboot each virtual machine.
View Agent
Download the VMware View Agent software from VMware and copy to each virtual machine. At the time of writing the latest version is 6.2.1.
Run the installer:

Click Next >

Click to select I accept the terms in the license agreement and click Next >
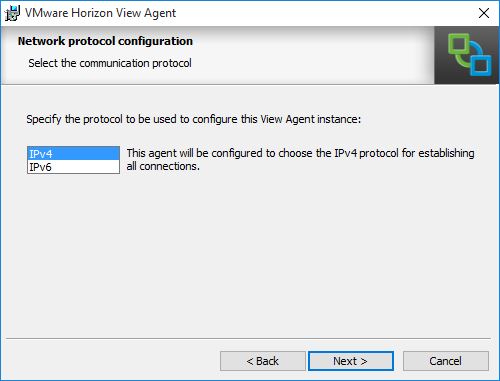
Select you network protocol and click Next >

Select the features you require and click Next >
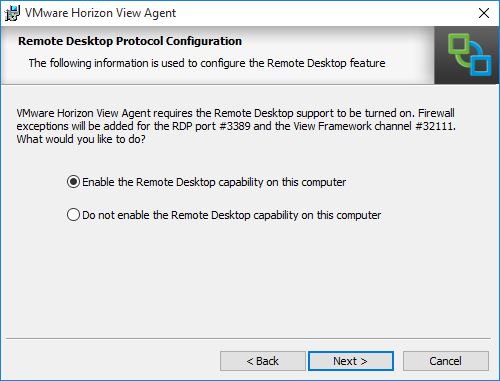
Click Next >
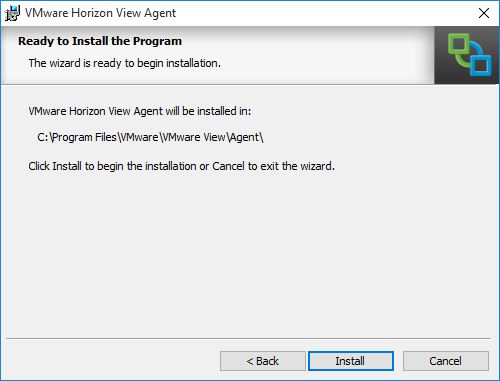
Click Install:
Click Finish.

Click Yes. Each virtual machine will reboot.
Applications
Once you have installed the VMware View Agent and rebooted, install any applications you would like each machine created from these templates to have. For example, each user that will receive a virtual desktop as part of this project requires Microsoft Office 2013 Standard, so this will be installed on both golden images.
When you have installed all necessary applications, remove all installation media and setup files copied to each virtual machine. Empty the recycle bin and delete any temp files. Also empty the event logs.
Open an elevated command prompt and release the DHCP lease using:
ipconfig /release
Finally, shutdown each virtual machine.
Customisation specification
A customisation specification is method of customising virtual machines, in this case ones that have been cloned. In the next few steps we will create one for View to use with our golden images.
In vCenter, click Home followed by Customization Specifications Manager. Click New.

Type a name and click Next >

Type a name and organization and click Next >

Click to select Use the virtual machine name and click Next >

Type the product key and click to deselect Include Server License Information, followed by Next >
Type a password, and then again to confirm. Click Next >

Select your timezone from the dropdown box, followed by Next >

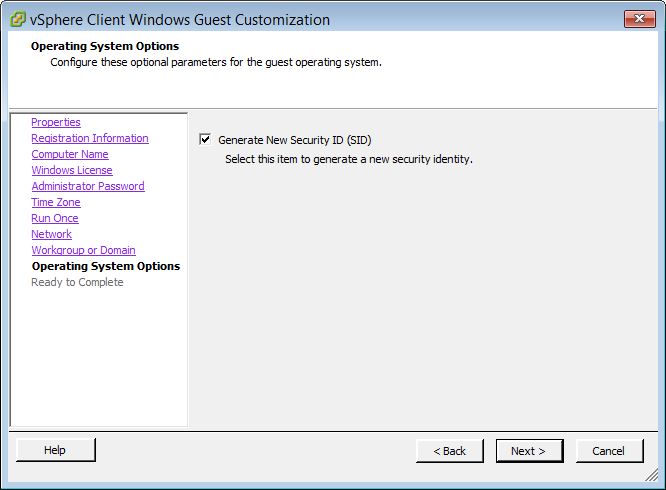
Click Next >

Click Next >

In the Windows Server Domain field, type the name of the domain the virtual desktops will reside in. Specify a domain account which permissions to add machines to the domain:

Click Next >
Click Next >

Click Finish.
Trial run
To ensure our newly created customisation specification works as intended it will be tested using a simple clone operation prior to using with View.
In vCenter, select either virtual machine golden image and select Clone…

Type a name for the cloned virtual machine and click Next >
Select a host for the clone and click Next >.
Select a resource pool and click Next >

Select a datastore and click Next >

Click to select Power on this virtual machine after creation, and then click Customize using an existing customization specification:

Select the customisation specification created previously and then click Next >

Click Finish.
Wait a while for vCenter to finish customising the newly cloned virtual machine. This often takes a few reboots.
If the customisation specification worked as intended, the cloned VM should receive an IP address from DHCP and be added to the domain. If not then you will need to go back and investigate where the issue lies.
Templates and snapshots
Two of the pools that need to be configured require full desktops, while the other two are to be configured as linked clones.
Full desktops can only be created from virtual machine templates, whereas linked clones are created from snapshots. Therefore we require two templates and two snapshots.
Using PowerCLI, connect to the vCenter (substitute highlighted lines accordingly):
# Variables

$credential = Get-Credential
$vc = "vc.nl.mdb-lab.com"

# Connect to vCenter
Connect-VIServer $vc -credential $credential
Create the first template for the Directors using:
$goldImage = "Windows 10 Gold 64-bit"
$date = Get-Date -Format yyyyMMdd
$template = "Full-Directors-$date"
$myDS = "SSD_R1"
$myDC = "Utrecht"

# Populate variables
$ds = Get-Datastore $myDS
$dc = Get-Datacenter $myDC

# Create template for Directors
New-Template -VM $goldImage -Name $template -Datastore $ds -Location $dc
Edit the properties of the Windows 10 Gold 64-bit virtual machine and increase the memory to 16GB.
Create the second template for the Developers:
$template = "Full-Developers-$date"

# Create template for Developers
New-Template -VM $goldImage -Name $template -Datastore $ds -Location $dc
The linked clone pools required snapshots to be taken of their golden image. Create the first snapshot for the call-centre staff using the following:
$goldImage = "Windows 10 Gold 32-bit"
$snapshot = "Linked-CallCentre-$date"

# Create snapshot for call-centre
New-Snapshot -VM $goldImage -Name $snapshot
Edit the properties of the Windows 10 Gold 64-bit virtual machine and increase the memory to 4GB.
Create the second template for the remaining users:
$snapshot = "Linked-AllUsers-$date"

# Create snapshot for call-centre
New-Snapshot -VM $goldImage -Name $snapshot
Finally, disconnect from vCenter:
Disconnect-VIServer $vc -confirm:$false
Coming up
In this part we configured our Windows golden images to be used in our desktop pools. We installed VMware Tools, the VMware View Agent and optimised the OS. We then created a customisation specification and tested it. Finally we created two templates and two snapshots from our images.
In part 4 we install and configure the Remote Desktop Session Hosts needed for providing applications to our remote users.

Pingback: Implementing a VMware Virtual Desktop Infrastructure with Horizon View 6.2 – Part 1: Design | virtualHobbit
Pingback: Implementing a VMware Virtual Desktop Infrastructure with Horizon View 6.2 – Part 2: Installing the Connection Servers and Composer | virtualHobbit
Pingback: Implementing a VMware Virtual Desktop Infrastructure with Horizon View 6.2 – Part 4: Configuring the RDS hosts | virtualHobbit
Pingback: Implementing a VMware Virtual Desktop Infrastructure with Horizon View 6.2 – Part 6: Application farm configuration | virtualhobbit
Pingback: Implementing a VMware Virtual Desktop Infrastructure with Horizon View 6.2 – Part 7: Load-balancing | virtualhobbit
Pingback: Implementing a VMware Virtual Desktop Infrastructure with Horizon View 6.2 – Part 8: Remote access | virtualhobbit